Let's pretend it's Thursday!
Also, if you're vegan: LOOK AWAY NOW!
Last week was "Asian week" in Lidl. There were colourful dips and friable bits, coconut ice cream and unripe mangos. Of course, whenever there's a "special" week, people swarm down like locusts and consume the things I like. In this case a set of multi-use chopsticks. But plenty had been left over and I started browsing. Slowly, like a meet-cute in a romcom, I saw it: Duck! Asian Week Special! 2.99euros/kilo! I didn't give it a second thought. Into my basket the duck went and I happily skipped to my car, looking forward preparing this for the first time. Not once did I think about why it would be so cheap. Even chicken is more expensive, though far more common in these parts. No, no, I was in a duck-haze, floating on cloud duck, or really any other expression I can maul by using the word "duck" in it.
Came home, started browsing. Some recipes were simple: Pop duck in oven, bake 20 minutes per pound plus additional 20 minutes. Nah, that can't be right. It can't be that simple! If it were that simple it wouldn't be duck, it would be chicken! I found one I liked finally. It was fairly long and I followed the logic of "If it sucked, nobody would put this much time into it, so it must be good!" I would like to take this opportunity to thank Jessie Cross (aka TheHungryMouse) for the amazing roasted duck recipe. But more on that later.
I was about to find out why my duck had come to me so cheaply.
FEATHERS! EFFING FEATHERS EVERYWHERE!
 |
| property of http://fernbank.edu/ |
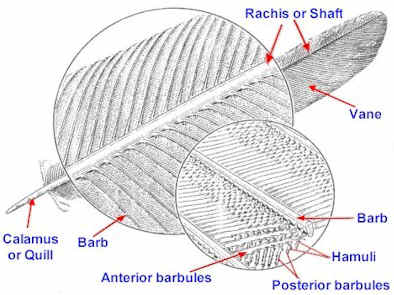
More precisely, quills. The long, fluffy bits of feather had been removed and the strong, sharp bases remained. I couldn't just shave the duck, like you would a pig (or so I hear), since the quills went about a centimetre or even more under the skin. That would make the skin kind of gross to eat, wouldn't it? Crunchy, but gross. I stared at them. Defiantly, they stared back. Should I throw it away? No, that would be wasteful. There aren't just kids starving in Africa, there are kids starving everywhere. We don't throw food away. Okay, okay, just breathe. I really wanted to ragequit this whole duck adventure. But the Scrooge in me would not let this bird go to waste. After a few futile attempts at removing the quills by hand, I decided that my tweezers would have to be sacrificed to the hairy duck gods.
And so I set to work.
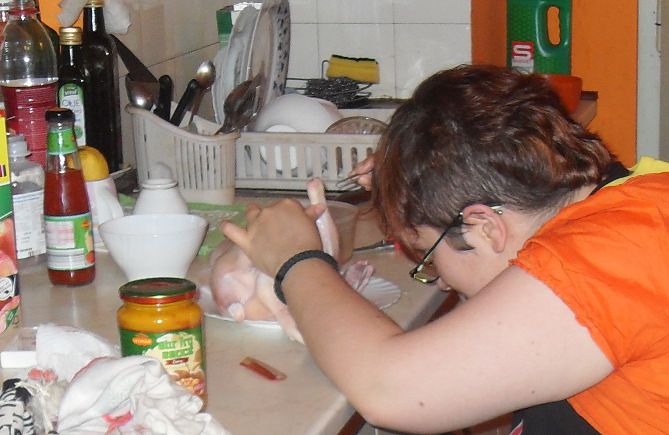
After three hours of this mind numbing work, I could swear the damn duck was alive and growing extra quills just to mess with me. The work was never-ending. Also, word of warning: If you happen to have severe trypophobia, this is not work for you. Especially around the tail. I have it mild, so I could just suck it up, but seriously, don't do this if you have a problem with holes.
My mum would occasionally stroll by, giggle unhelpfully, ask me why I don't just give up. I do not give up! I will not be bested by a dead duck! THIS IS WAR, WOMAN! Don't you see?!
Yeah, I get ridiculously intense about weird things.
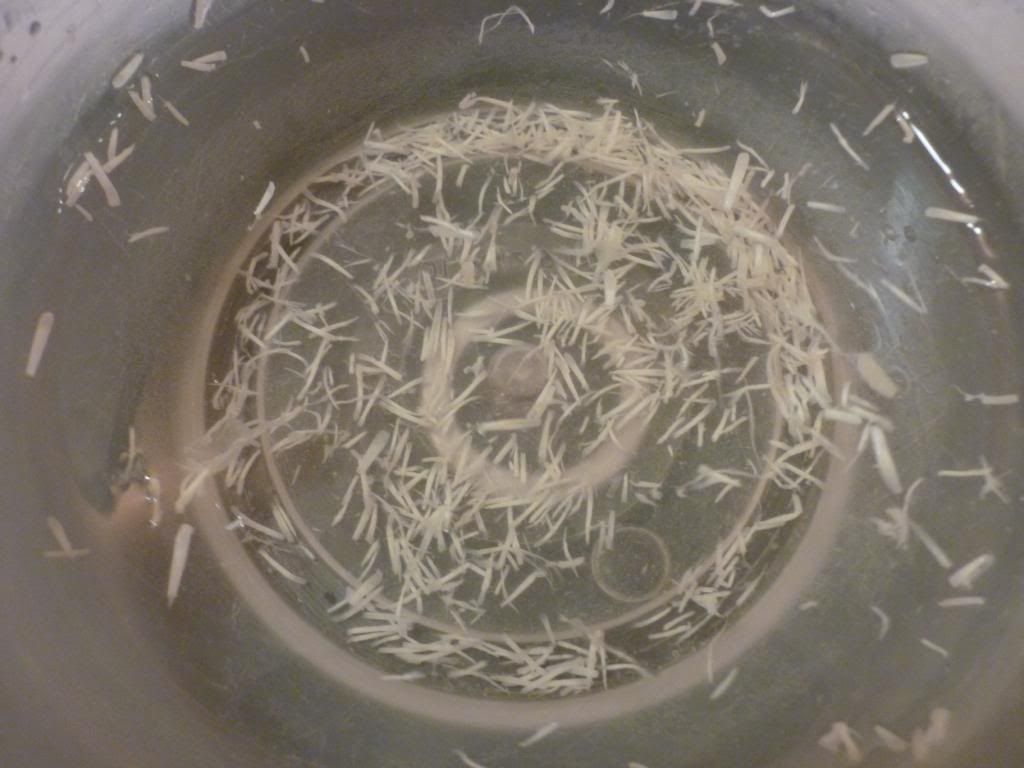
After three hours, I was exhausted and cross-eyed from plucking. I had about enough quills that, had they been whole feathers, I could have stuffed a decent pillow. Here's some advice: If you, like I, fall for the cheap duck ploy and need to do your own bit of plucking, have a bowl of water close. It's much easier dunking the tweezers into water as a means of removing quills than trying to do it with your fingers.
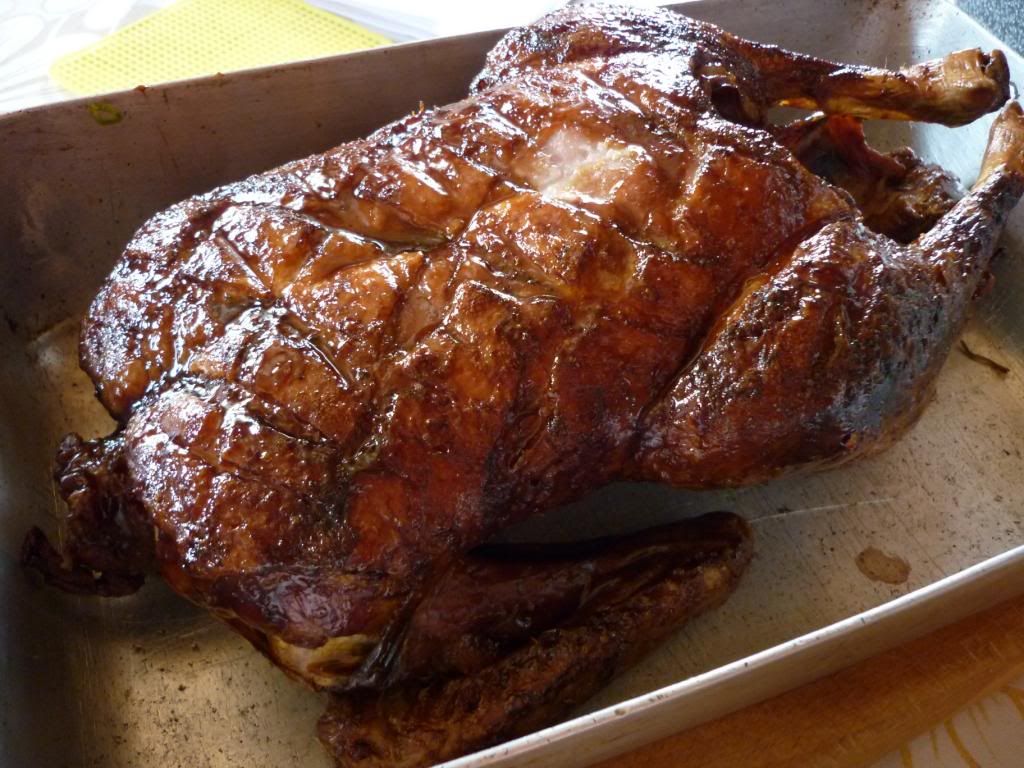
Another two hours on the next day and my duck was now as smooth as a smooth duck should be. HungryMouse's recipe, though in theory simple, required a lot of time. Four and a half hours, to be exact. In the end: Worth it. It was everything it promised. Crispy skin, beautiful, tasty meat. And duck fat from the extra skin! Who knew you could do that. If you, like me, are not a native speaker, the process is called rendering. Here's a nice recipe on how to do it by TheBittenWord.
Waste not want not, right? I felt bad about wasting the duck innards, so after some searching, I came to Hank Shaw's page, Honest Food and found a recipe for dirty rice, a dish unknown to me until that point. It turned out amazingly well and I can suggest that, if you make this, you put in both the green and jalapeno peppers. Gizzards turned out not to be my thing - too firm and too chewy, but the rest: heart, liver and unidentified darker organ (I used the neck for soup), were simply delicious and went well with the texture of the rice. Turns out, my mum loves gizzards and here's why: She grew up in the country and whenever they were good, they would get gizzards as a prize! In those days, you weren't picky about your food and getting extra meat was next to being declared a saint.

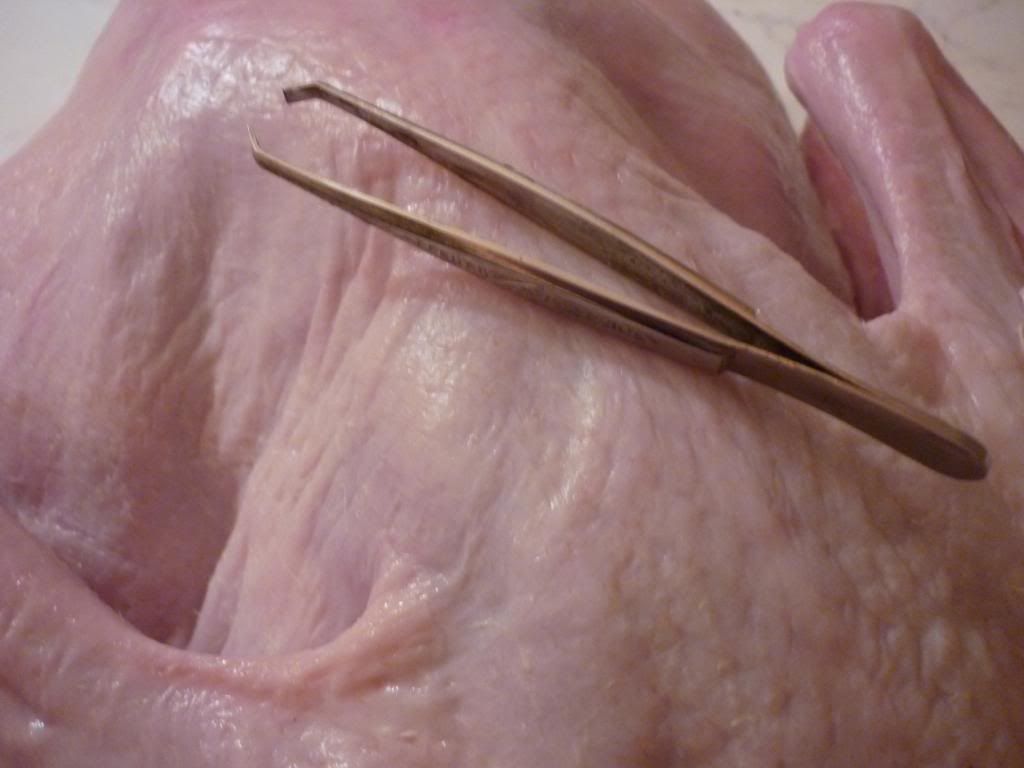
And that is all! My duck was roasted and then decimated in two days, I still have some dirty rice and a cup of lovely duck fat, which people keep telling me I should use for roasting potatoes. Once again, tweezers save the day!
Until next time!
Love,
LaDIY Tasha
P.S: Did I mention I was humming the Ducktales theme song the entire time I was preparing this bird?